Your WordPress site going down at 2 AM probably won't wake you up. But it'll definitely wake up your competitors who are ready to capture the traffic you're losing.
Website downtime isn't just an inconvenience. It's a direct hit to your revenue, search rankings, and brand reputation. Every minute your site stays offline, you're bleeding potential customers and giving search engines reasons to question your reliability.
The Real Cost of WordPress Downtime
Let's talk numbers. If you're running an e-commerce site that generates $10,000 per day, just one hour of downtime costs you roughly $417. That's assuming your traffic is evenly distributed throughout the day, which it probably isn't.
But the financial damage goes beyond immediate lost sales. You've got abandoned shopping carts that won't come back, frustrated customers who'll remember the experience, and a reputation hit that's hard to quantify. Some visitors won't return after encountering a dead site, especially if they're first-time visitors who don't know your brand yet.
Content sites face different but equally serious consequences. Lost ad impressions, broken affiliate links during peak traffic periods, and missed opportunities when your content goes viral but your server can't handle the load.
How Downtime Affects Your SEO Rankings

Google doesn't penalize you for occasional brief outages. But here's what does happen: when Googlebot tries to crawl your site and finds it unavailable, it comes back later. If your site is down repeatedly or for extended periods, Google starts crawling less frequently.
This matters because crawl budget is finite. Google allocates a certain amount of resources to crawling your site. If it keeps finding your site down, it'll redirect those resources elsewhere. Your new content takes longer to get indexed, and updates to existing pages don't get picked up as quickly. This is a critical aspect of Technical SEO.
Extended downtime (we're talking days, not hours) can lead to deindexing. Google might remove pages from its index if they're consistently unavailable. Getting back into the index after that happens is possible, but you'll lose ranking momentum in the process.
What You'll Learn in This Guide

We're going to walk through everything you need to implement wordpress uptime monitoring effectively. You'll learn which monitoring services actually work for WordPress sites, how to set up intelligent alerts that don't spam your inbox, and specific strategies to protect your SEO rankings. For a comprehensive approach, explore our WordPress SEO optimization guide.
By the end, you'll have a monitoring system that catches problems before they become disasters. No technical degree required.
Understanding WordPress Uptime Monitoring Fundamentals
Before you start setting up monitors, you need to understand what you're actually monitoring and why it matters for WordPress specifically.
What Is WordPress Uptime Monitoring?
Uptime monitoring is pretty straightforward. A service pings your website at regular intervals to check if it's responding. If your site doesn't respond or returns an error, you get alerted.
For WordPress sites, this gets a bit more nuanced. Your homepage might load fine while your admin area is broken. Your database could be struggling even though pages are technically loading. Good monitoring catches these WordPress-specific issues, not just whether your domain resolves.
Key Metrics to Track
Uptime percentage is the big one. Most services aim for 99.9% uptime, which sounds great until you realize that still allows for about 43 minutes of downtime per month. For critical sites, you want to push toward 99.99% or higher.
Response time tells you how fast your server responds to requests. A slow response time often predicts problems before they become full outages. If your typical response time is 500ms and suddenly it's 3 seconds, something's wrong.
Time to First Byte (TTFB) measures how long it takes for your server to start sending data. This is particularly important for WordPress because it reflects database query performance and PHP execution time.
Types of Monitoring: HTTP, Ping, Port, and Keyword
HTTP monitoring checks if your website returns a successful response code (usually 200). This is your baseline monitoring type. It confirms your web server is responding and serving pages.
Ping monitoring sends ICMP packets to your server to verify it's online at the network level. It's faster and lighter than HTTP monitoring but doesn't tell you if your WordPress installation is actually working.
Port monitoring checks specific ports like 443 (HTTPS) or 3306 (MySQL). This helps you identify if specific services are down even when your server is technically online.
Keyword monitoring looks for specific text on your pages. You can use this to verify your homepage isn't showing a database connection error or that your checkout page contains the "Place Order" button.
Monitoring Intervals: Finding the Right Balance
Most free monitoring services check your site every 5 minutes. That means if your site goes down right after a check, it could be offline for almost 5 minutes before you're notified.

Paid services often offer 1-minute intervals. For high-traffic sites or e-commerce, this faster detection is worth the cost. For a personal blog, 5-minute checks are probably fine.
There's a trade-off here. More frequent checks mean faster problem detection but also more server load and potentially more false positives from temporary network hiccups.
Top WordPress Uptime Monitoring Services Compared
Let's look at the services that actually work well for WordPress sites. I'm focusing on tools I've seen work in real-world scenarios, not just feature lists from marketing pages.
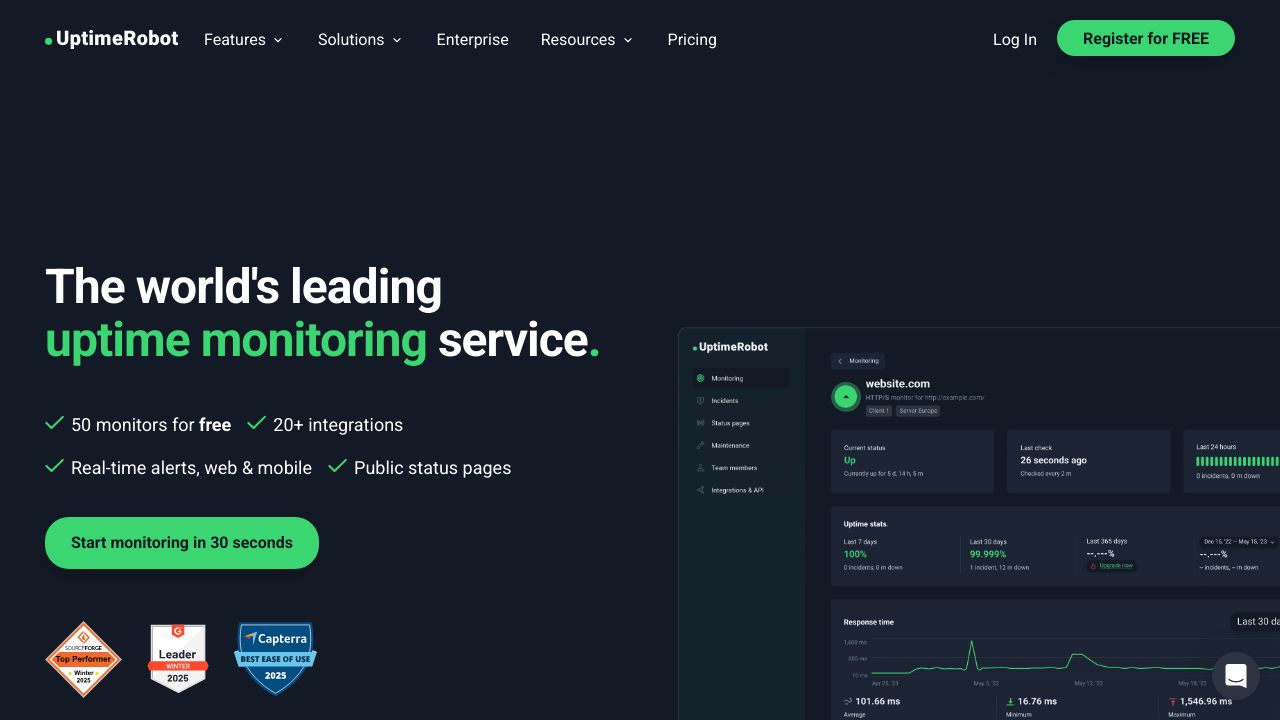
UptimeRobot: Best Free Option for WordPress
UptimeRobot offers genuinely useful free monitoring for up to 50 monitors with 5-minute intervals. That's enough for most small to medium WordPress sites to monitor their homepage, key pages, and admin area.
The free tier includes email alerts and basic status pages. You can monitor HTTP(s), ping, port, and keywords. The interface is straightforward, which matters when you're trying to set things up quickly.
Limitations? The 5-minute check interval means slower problem detection. You also get monitoring from fewer geographic locations on the free plan. But for getting started with wordpress uptime monitoring, it's hard to beat free.
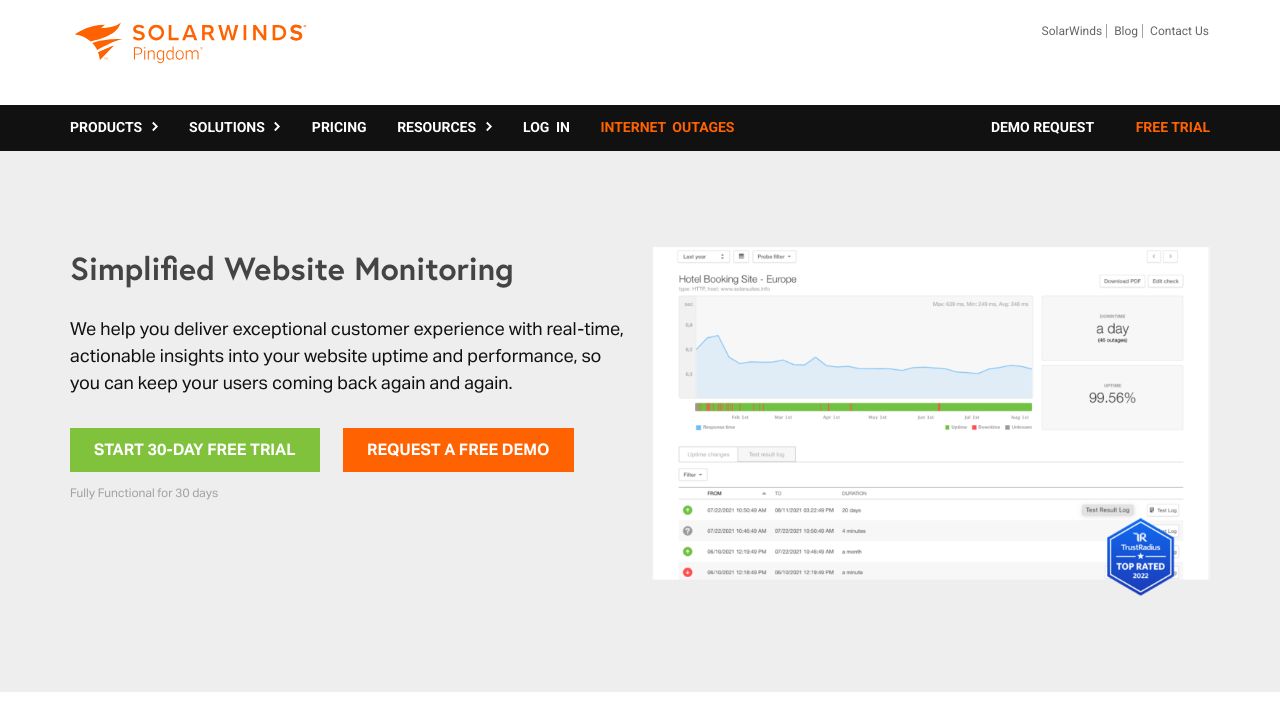
Pingdom: Enterprise-Grade Monitoring
Pingdom is what you graduate to when your site's uptime directly impacts your income. It offers real user monitoring (RUM), which tracks actual visitor experiences rather than just synthetic checks.
The transaction monitoring feature lets you test complete user flows. For WooCommerce sites, you can monitor the entire checkout process to catch issues before customers do.
Pingdom integrates with tools like Slack, PagerDuty, and webhooks for custom integrations. The reporting is detailed enough for client presentations or internal SLA tracking.
StatusCake: Comprehensive Monitoring Suite
StatusCake sits between UptimeRobot and Pingdom in terms of features and pricing. It offers monitoring from multiple global locations even on lower-tier plans, which helps reduce false positives.
The page speed testing integration is useful for WordPress sites because slow performance often predicts downtime. You can catch degrading performance before it becomes a full outage.
StatusCake also includes virus scanning and domain monitoring (SSL certificate expiration, domain expiration). These extras make it a decent all-in-one solution for WordPress site owners who want to consolidate tools.
Jetpack Monitor: Native WordPress Integration
Jetpack includes basic uptime monitoring as part of its plugin suite. It checks your site every 5 minutes and sends email notifications when problems are detected.
The advantage is simplicity. If you're already using Jetpack for other features, the monitoring is just there. No separate account to manage, no external service to configure.
The downside is limited features. You don't get multiple monitoring locations, detailed response time tracking, or advanced alerting options. It's fine for basic monitoring but not sufficient for sites where uptime is critical.
Comparison Table: Features and Best Use Cases
| Service | Best For | Key Strength | Starting Price |
|---|---|---|---|
| UptimeRobot | Small sites, beginners | Free tier with 50 monitors | Free |
| Pingdom | E-commerce, enterprises | Real user monitoring | Paid plans |
| StatusCake | Growing businesses | Multi-location checks | Free and paid tiers |
| Jetpack Monitor | Existing Jetpack users | WordPress integration | Included with Jetpack |
Step-by-Step: Implementing WordPress Uptime Monitoring
Let's get your monitoring set up. I'll walk through the process using UptimeRobot as an example since it's free and covers most use cases, but the principles apply to any service.
Pre-Implementation Checklist
Before you start clicking buttons, gather this information:
- Your site's main URL and any critical subdomains
- URLs for key pages (checkout, login, contact forms)
- Email addresses for alerts (yours and your team's)
- Your hosting provider's support contact info
- Access to your WordPress admin area
You'll also want to identify your site's critical pages. For an e-commerce site, that's probably the homepage, product pages, cart, and checkout. For a content site, it might be your homepage, popular articles, and subscription pages.
Setting Up Your First Monitor
Create an account with your chosen monitoring service. For UptimeRobot, you'll verify your email and land on the dashboard.
Click "Add New Monitor" and select HTTP(s) as the monitor type. Enter your site's URL (include https:// if you're using SSL, which you should be). Give it a descriptive name like "Main Site - Homepage."
Set the monitoring interval. On the free plan, you're stuck with 5 minutes, which is fine for starters. Choose your alert contacts (your email address to begin with).
Under advanced settings, you can specify what HTTP status codes should trigger alerts. Typically, you want to be notified about anything that's not a 200 (OK) response. Some services let you ignore specific error codes if you have legitimate reasons for them.
Configuring Multiple Monitoring Points
Don't just monitor your homepage. Set up separate monitors for:
- Your WordPress admin login page (wp-admin)
- Key landing pages from marketing campaigns
- Checkout or payment pages for e-commerce sites
- API endpoints if you're using the WordPress REST API
- Any custom applications or tools hosted on your domain
Each monitor should have a clear, descriptive name. "Site Down" doesn't help you at 3 AM. "WooCommerce Checkout Page" tells you exactly what's broken.
WordPress-Specific Monitoring Configurations
WordPress has some quirks worth monitoring specifically. Your database connection can fail while your server stays online. Your admin area can break while your frontend works fine.
Set up keyword monitoring for your homepage that looks for text that should always be there. If that text disappears, you might be showing a white screen of death or database error.
Monitor your WordPress REST API endpoint (yoursite.com/wp-json/) if you're using it for mobile apps or integrations. This can break independently of your main site.
Consider monitoring your XML sitemap (yoursite.com/sitemap.xml) since search engines rely on it. If it's not accessible, you've got an SEO problem brewing.
Creating Effective Alerting Strategies for WordPress Sites
Getting alerts is pointless if you ignore them. And you'll start ignoring them if they're too frequent, too vague, or sent to the wrong people.
Alert Channels: Email, SMS, Slack, and More
Email works for non-critical alerts during business hours. But let's be honest, you probably don't check email at 2 AM when your site goes down.
SMS or phone calls are better for critical alerts. They'll actually wake you up. Most monitoring services support SMS alerts, though they often cost extra.
Slack or Microsoft Teams integration works well for teams. Everyone sees the alert simultaneously, and you can coordinate response in the same thread. Just make sure notifications are configured to actually alert people, not just post silently to a channel nobody checks.
Setting Up Multi-Tier Alert Escalation
Not every problem needs to wake up your entire team. Create escalation tiers based on severity and duration.
Tier 1 might be an email to your developer after the first failed check. Tier 2 could be an SMS after 5 minutes of downtime. Tier 3 might alert your hosting provider and management after 15 minutes.
This prevents alert fatigue while ensuring serious problems get appropriate attention. A brief blip doesn't need to wake everyone up, but extended downtime should escalate quickly.
Configuring Alert Thresholds and Sensitivity
Most monitoring services let you configure how many failed checks trigger an alert. Setting this to 1 means you'll get notified on the first failure, but you'll also get false positives from temporary network issues.
Setting it to 2 or 3 failed checks reduces false positives but delays notification of real problems. For critical sites, 2 failed checks is usually the sweet spot.
You can also set up alerts for slow response times before they become full outages. If your site normally responds in 500ms but suddenly takes 5 seconds, that's worth investigating even if it's technically still up.
Linking WordPress Uptime Monitoring to SEO Performance
Your uptime monitoring isn't just about keeping your site online. It's about protecting and improving your search rankings.
How Google Treats Site Downtime
Google's crawlers are surprisingly patient with occasional downtime. If Googlebot encounters a 5xx server error, it'll typically retry later the same day. Brief outages (under an hour) rarely cause ranking problems.
But repeated downtime changes Google's crawl behavior. If your site is frequently unavailable, Google reduces how often it crawls you. This means new content takes longer to get indexed and updates to existing pages aren't picked up as quickly.
Extended downtime (multiple days) can lead to temporary removal from search results. Google doesn't want to send users to sites that don't work. Getting back into the index after this happens is possible, but you'll lose ranking momentum.
Using Uptime Data to Improve Core Web Vitals
Your monitoring data reveals patterns in site performance. If response times spike at certain times of day, you've got a capacity problem that affects both uptime and Core Web Vitals.
Slow response times often predict downtime. If your TTFB gradually increases over days or weeks, your server is struggling. Addressing this before it becomes a full outage protects both your uptime and your page speed scores.
Many monitoring services track response time alongside uptime. Use this data to identify performance degradation before it impacts your SEO rankings.
Creating SEO-Focused Status Pages
A public status page shows transparency during outages. Services like UptimeRobot and StatusCake let you create these easily.
When your site goes down, you can direct users to your status page for updates. This reduces support inquiries and shows you're handling the situation professionally.
From an SEO perspective, a status page helps maintain trust during outages. Users who see you're actively working on the problem are more likely to return than those who just encounter a dead site with no explanation.
Maintaining Reliable WordPress Sites for SEO Success
Uptime monitoring isn't a set-it-and-forget-it task. Your monitoring setup needs regular attention to stay effective.
Your 30-Day Implementation Plan
Week 1: Set up basic monitoring for your homepage and critical pages. Configure email alerts. Test that alerts actually reach you.
Week 2: Add monitoring for WordPress-specific endpoints (admin area, REST API, sitemap). Set up keyword monitoring for critical content.
Week 3: Configure advanced alerting with SMS or Slack. Set up escalation tiers. Document your response procedures.
Week 4: Review your first month of data. Adjust alert thresholds based on false positive rates. Add monitoring for any gaps you've discovered.
Key Metrics to Review Monthly
Check your uptime percentage. Anything below 99.9% needs investigation. Look at downtime incidents to identify patterns. Are outages happening at specific times? During updates? After traffic spikes?
Review response time trends. Gradual increases suggest growing capacity problems. Sudden spikes might indicate specific issues like inefficient database queries or plugin conflicts.
Analyze your alert effectiveness. Are you getting too many false positives? Not enough warning before real problems? Adjust your thresholds accordingly.
Uptime as a Competitive Advantage
Most WordPress sites don't monitor uptime properly. They find out about problems when customers complain or when they notice traffic drops in analytics.
By implementing proper wordpress uptime monitoring, you're already ahead of most competitors. You'll catch problems faster, minimize downtime impact, and protect your SEO rankings.
The sites that rank consistently well aren't just creating great content. They're also reliably available when users and search engines come looking. That reliability compounds over time into better rankings, more traffic, and ultimately more revenue.